

Access to clean, safe drinking water is essential for maintaining good health. However, tap water can contain impurities such as chlorine, lead and bacteria that can harm our health.
While many options are available for purifying drinking water, installing a water purifier on your sink faucet is one of the most convenient and affordable solutions. Not only does it provide instant access to clean drinking water, it also reduces plastic waste by eliminating the need for bottled water.
In this article, we’ll guide you through the process of installing a water purifier on your sink faucet, providing step-by-step instructions and helpful tips along the way.
Types of water purifiers for sink taps: Which one is right for you?
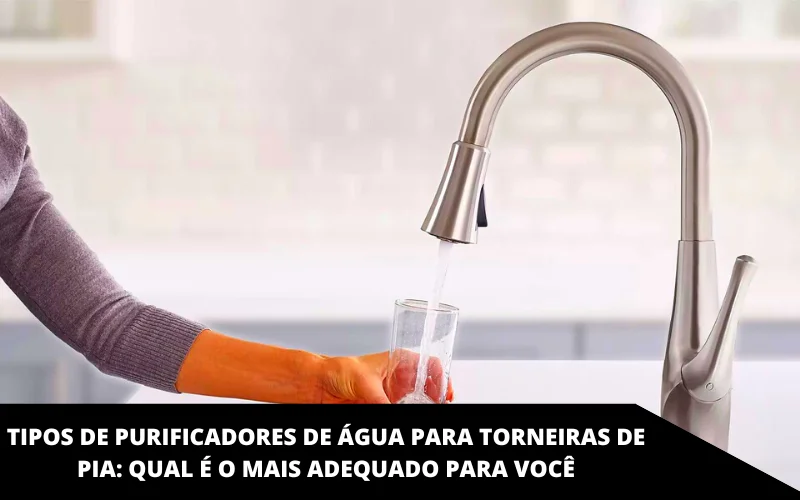
There are several water purifiers for sink faucets, each with advantages and disadvantages. Choosing the right one for your needs depends on your budget, the level of filtration you need and your personal preferences. Here are some of the most common types of water purifiers for basin taps:
- Carbon filter: Carbon filters are the most common type of water purifier for sink faucets. They use activated carbon to remove impurities such as chlorine, sediment and volatile organic compounds (VOCs) from water. Carbon filters are affordable and easy to install, but they may not remove all contaminants such as heavy metals or bacteria.
- Reverse Osmosis: Reverse Osmosis (RO) filters use a semipermeable membrane to remove impurities from the water. They are highly effective at removing contaminants like arsenic, fluoride, and lead, but they can be expensive and may require professional installation.
- Ceramic filter: Ceramic filters use a porous ceramic material to remove contaminants from water. They are effective at removing bacteria, protozoa, and sediment, but may not be as effective at removing chemicals or heavy metals. They are also more expensive than carbon filters.
- UV Filter: UV filters use ultraviolet light to kill bacteria and viruses in the water. They effectively remove microbial contaminants, but may not remove other impurities such as chemicals or heavy metals. They require electricity to run and can be more expensive than other types of filters.
- Ion exchange: Ion exchange filters use resin beads to remove minerals such as calcium and magnesium from the water. They effectively improve the taste of water and reduce mineral buildup in pipes and fixtures, but may not remove other contaminants.
Tools and Materials Needed: What you need to get started.
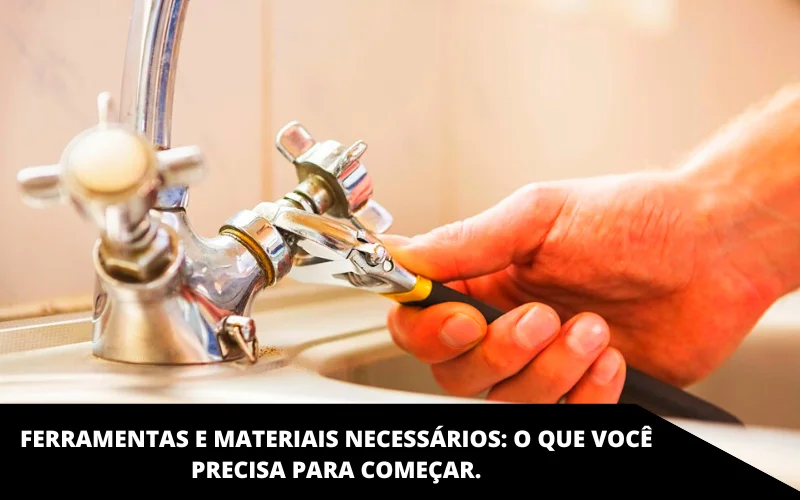
Before installing your water purifier, make sure you have all the necessary tools and materials. Here’s what you will need:
- Water Purifier: Choose the type that best fits your needs and budget.
- Diverter valve: This device attaches to the faucet and directs water to the filter. Make sure the diverter valve is compatible with your faucet.
- Piping: You will need pipes to connect the diverter valve to the filter and faucet.
- Filter cartridge: This is the heart of your water purifier. Be sure to choose a filter cartridge compatible with your purifier that effectively removes the contaminants you are concerned about.
- Adjustable Wrench: You will need this to loosen and tighten the bypass valve and filter connections.
- Pliers: You may need pliers to tighten the tube connections.
- Teflon tape: This can be used to seal any connections that might leak.
- Bucket or bowl: You will need something to catch any water that might spill during installation.
By having all of these tools and materials on hand before you begin, you’ll be ready to tackle the installation process with confidence.
A step-by-step guide to installing a water purifier on your sink faucet:

STEP 1: Turn off the water supply
Before you start installing your water purifier on your sink faucet, you need to turn off the water supply to your sink. Here’s how to do it:
- Locate the shut-off valve: The shut-off valve is usually located under the sink, behind the cabinet doors. It is usually a small knob or lever attached to a water pipe.
- Turn off the water supply clockwise until the shut-off valve is fully closed. This will stop the flow of water to your sink faucet.
- Test the water flow: Turn on your sink faucet to ensure the water supply has been turned off. If no water comes out, you can proceed to the next step.
Turning off the water supply ensures that no water will flow through the sink faucet during installation, reducing the risk of damage or water leaks. Keep the shut-off valve closed until the installation process is complete and you have tested the water flow and quality.
STEP 2: Remove the faucet aerator
The aerator is the small device on the end of your faucet that mixes air with water to create a smooth flow. You need to remove it to fix the bypass valve. Here’s how to do it:
- Unscrew the aerator: Using your fingers, unscrew the aerator from the end of your faucet. If it is difficult to remove, you can use pliers to help you hold it.
- Inspect the aerator: Examine it closely to ensure it is clean and free of debris. If it is dirty or clogged, clean it with warm water and a small brush.
- Set the aerator aside: Once removed, safely set it aside. You will need to reinstall it later.
STEP 3: Attach the bypass valve to the faucet
The diverter valve is the device that attaches to the faucet and directs the water to the filter. Here’s how to attach it:
- Screw the adapter onto the faucet: Most diverter valves come with an adapter that screws onto the end of your faucet. Make sure the adapter is securely screwed onto the faucet.
- Attach the diverter valve to the adapter: The diverter valve must have a hose or tube attached to the adapter. Push the hose or tube over the adapter until it clicks into place.
- Tighten connections: Use an adjustable wrench to tighten connections between the adapter, diverter valve, and hose or tube. Make sure they are tight and secure.
- Test the connection: Turn on the water supply and test the connection between the diverter valve and the faucet. If there are any leaks, use pliers to tighten the connections further.
STEP 4: Install the piping and filter cartridge
The piping and filter cartridge are the components that filter the water as it flows through the diverter valve. Here’s how to install them:
- Attach Piping to Bypass Valve: Piping should come with the water purifier kit. Push one end of the tubing into the diverter valve outlet port and the other end into the filter cartridge inlet port. Make sure connections are tight and secure.
- Install the filter cartridge: Most filter cartridges simply screw into the housing unit. Follow the manufacturer’s instructions to install the filter cartridge correctly. It may be helpful to lubricate the O-ring seal with a small amount of silicone grease before installing the cartridge.
- Connect the tubing to the filter cartridge: Push the other end of the tubing into the filter cartridge outlet port. Again, make sure the connection is tight and secure.
- Turn on the water supply: Slowly turn the shutoff valve to allow water to flow through the filter. You may notice some air bubbles in the tubing, which is normal.
- Wash the filter: Run water through the filter for a few minutes to flush out any carbon particles or debris from the filter cartridge.
STEP 5: Test the water flow and quality
After installing the water purifier, it is important to test the water flow and quality to ensure correct operation. Here’s how to do it:
- Turn on the water: Turn on the faucet and let the water run for a few minutes to clear any air bubbles from the system.
- Test the water flow: Place a measuring cup or container under the faucet and the time it takes to fill it with water. Compare the flow rate to the manufacturer’s specifications to ensure it is within the recommended range.
- Check water quality: Use a water testing kit or take a filtered water sample to a local laboratory to test for contaminants. Make sure the water meets the purity standards you want.
- Adjust the system: If the flow rate is too low or if the water quality is unsatisfactory, it may be necessary to adjust the system. Check the manufacturer’s instructions for troubleshooting tips or contact customer service for help.
- Enjoy your clean water: Once you have tested the water flow and quality and made any necessary adjustments, you are ready to enjoy your clean, safe water.
Tips for maintaining your sink faucet water purifier:
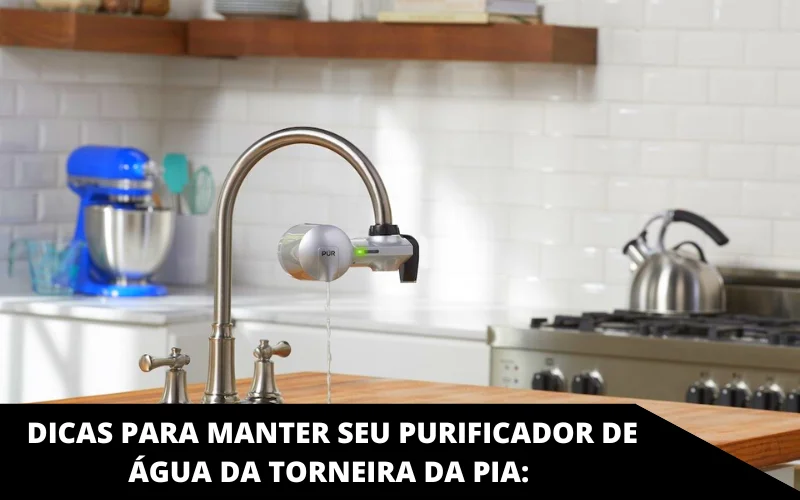
To ensure that your water purifier continues to provide you with clean, safe drinking water, it is important to maintain it regularly. Here are some tips for maintaining your sink faucet water purifier:
Changing the filter cartridge
The filter cartridge should be changed regularly, usually every six months or as recommended by the manufacturer. A clogged or expired filter cartridge can reduce flow and affect the quality of the filtered water. Follow the manufacturer’s instructions for replacing the filter cartridge.
Cleaning of pipes and components
Over time, the piping and other components of the water purifier can accumulate mineral buildup or debris. Regular cleaning of the piping and components can help maintain the flow rate and quality of the filtered water. Use a soft brush or cloth and mild detergent to clean the components.
Avoid cross contamination
Do not use filtered water for cleaning or other purposes other than drinking to avoid cross-contamination. Properly dispose of sink wastewater and avoid using harsh chemicals near the water purifier.
Conclusion: Enjoy clean and safe drinking water with your new sink faucet water purifier
Installing a water purifier on your sink faucet is a simple and cost-effective way to ensure access to safe, clean drinking water. With the right tools, materials, and instructions, you can easily install a water purifier on your sink faucet and enjoy clean, refreshing water every day.
Remember to choose the right type of water purifier based on your needs and preferences, and carefully follow the manufacturer’s instructions for installation and maintenance.
Regularly testing water flow and quality and maintaining the system can help ensure that your water purifier provides clean, safe drinking water for a long time.
By following the step-by-step guide and tips in this article, you can install a water purifier on your sink faucet and enjoy the benefits of clean, safe drinking water right from your home.